Views: 173 Author: Site Editor Publish Time: 2021-12-14 Origin: Site
Choose a cloudy or not very hot weather, you have to have more than half a day of leisure time to unplug the power, let off all the hot water in the water heater, you can be careful not to add water a few days before cleaning.
If the water temperature of the water heater is high, after the hot water is discharged, you need to add some cold water, and then let it dry again to ensure that the remaining water temperature is not high, and to prevent the hot water from flowing out of the pipe during disassembly.
Prepare a pair of gloves with a rubber inner layer. These gloves are non-slip, wear-resistant, and not easy to hurt your hands. They are extremely easy to use and must not be used empty-handed.
Prepare a small plastic basin, add a few drops of kitchen detergent, and add a small half basin of clean water to set aside.
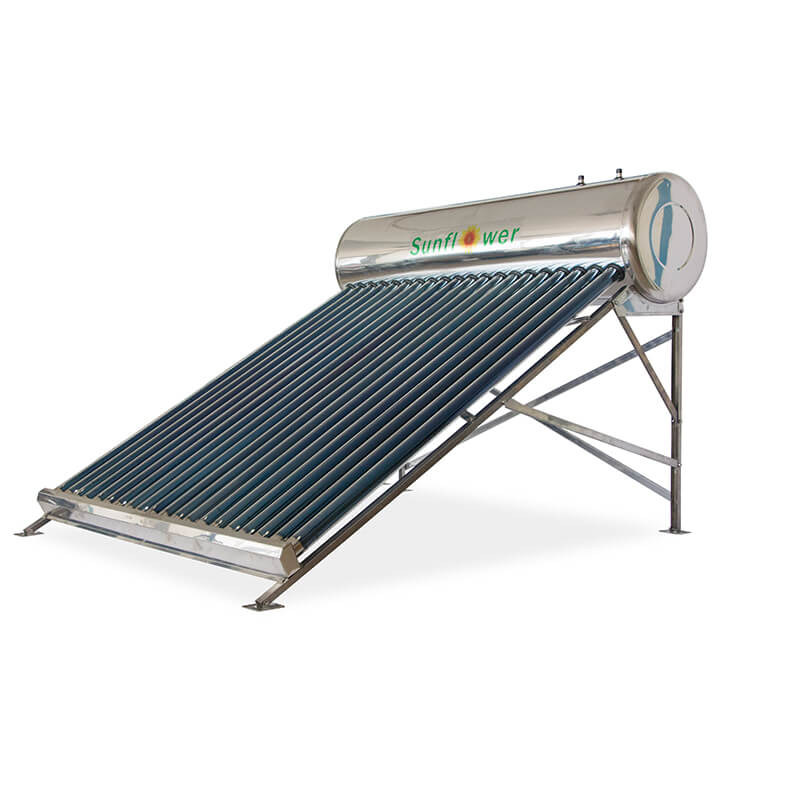
After doing the above solar cleaning preparations, we enter the formal disassembly process. This step is the first difficulty in cleaning, because solar energy, as a new energy source, is exposed to wind, sand and dust all the year round. Sometimes it is not easy to disassemble and take a waste towel, wipe the vacuum tube of the solar water heater a little, to facilitate the next step of disassembly. Gloves, take a piece of bamboo or wood, slide the top of the vacuum tube and the dust-proof seal of the contact part of the solar insulation barrel down about 30 cm
When disassembling, starting from the outermost one of the solar energy, hold the upper middle part of the vacuum tube with both hands, slightly force, rotate the collector tube left and right, and gradually try to increase the force until the vacuum tube can be shaken. After it can be shaken, hold the tube wall with both hands. Push up while shaking, and let the vacuum tube rotate and roll upward, about 10 cm above the incubator.
After the lower part of the vacuum tube is completely separated from the solar support, slightly lift the bottom of the vacuum tube, rotate it downward, and pull out the vacuum tube slowly. The most difficult one is the first one. After removing one, you will feel it. The latter will not be difficult. In the same way, remove the remaining water heater vacuum tube. The index finger and middle finger are inserted into the tube hole of the insulation barrel, and all the nozzles are removed. Sealing ring, so far complete all disassembly work.
Flush the water heater vacuum tube.
After removing each solar tube, hold it horizontally, the mouth of the tube is slightly higher, and gently shake it upside down to pour out the scale inside, then pour in clean water, shake it again and rinse it several times, the scale inside will be almost rinsed If there is a firmer scale, you can use a thin wooden stick to gently tap it.
Flush the heat preservation bucket of the water heater.
Many of the scales in the incubator are not attached, but are deposited on the bottom of the bucket, so that you can directly fill a large amount of cold water to rinse, so that the scale inside can flow out with the water.
Under the premise of paying attention to the toughness of the aluminum-plastic pipe connected to the solar energy, you can shake the bracket to facilitate the complete discharge of the scale. If the scale is not easy to discharge, you can remove the insulation bucket, but after the cleaning is completed, you need to install the bracket and the pipe again, compare Time-consuming.
Clean the seal of the water heater nozzle
Good sealing is the key link to ensure that there is no leakage after installation. It must be carefully cleaned, especially the groove in the middle of the outer wall of the sealing diagram. This is the contact part with the mouth of the insulation barrel. There is also a rubber inner surface, which is a vacuum tube. The contact and sealing parts of the outer wall of the glass need to be cleaned and treated.
Clean the top of the vacuum tube of the water heater
After the scale is poured out of the vacuum tube, pay attention to carefully cleaning the outer wall of the vacuum tube about 20 cm at the top. This is the part where the sealing ring is tightly sealed.
After cleaning the vacuum tube and sealing ring, enter the installation process to install the seal. After installation, use a small towel to moisten a little detergent solution prepared at the beginning, and smear it on the sealing circle of the mouth of the insulation barrel to reduce the friction during installation. Hold the vacuum tube with both hands, with the mouth of the tube facing down, dip a little detergent solution, and control the excess water, then turn the mouth of the tube up and gently push it into the insulation barrel. At this time, be careful not to let the sealing ring of the tube slip off. Enter about 15 cm into the barrel. After ensuring that the bottom of the glass tube has enough space, align it with the groove of the base of the bracket, gently rotate and then pull it down, so that the bottom of the vacuum tube is completely placed in the groove to ensure that it is installed in place.
The same steps, after all installations are completed, add water and let stand for 20 minutes to check the leakage of each nozzle
After ensuring that there is no water leakage, push back the sealing rings on the pipe one by one, and the installation work is completed.


